
Progressive web apps (or PWAs) enable websites to function more like native mobile apps in exchange for some flexibility. You get native mobile app functionality (or close to it) without all the overhead of app store approvals and tons of platform-specific native code. Users can install a progressive web app to their home screen and launch it just like a native app. However, the app is launched into a pseudo-app frame that has some restrictions and only allows access to pages that are sub-paths of the initial path of the progressive web app. They also must be served over HTTPS.
The core of a progressive web app is the service worker, which is effectively a client-side JavaScript daemon. Service workers can listen for a few kinds of events and react to them. One of the most commonly supported events is the fetch event, which can be used to cache web content offline as explained below.
Many websites fit just fine within the rules and restrictions of progressive web apps. Instead of waiting for Apple or Google to approve and push out native app updates, progressive web app updates are fetched by a service worker following standard HTTP caching rules. Plus, progressive web apps can now use many native APIs like the geolocation, camera, and sensor APIs that only native mobile apps used to be able to take advantage of.
In this post, we’ll show you how to convert your existing website into a progressive web app. Building a progressive web application is fairly simple, only really requiring the following steps:
- Create an app manifest
- Add it to your base HTML template
- Create the service worker
- Serve the service worker on the root of the scope you used in the manifest
- Add a
<script>block to your base HTML template to load the service worker - Deploy your progressive web app
- Use your progressive web app!
If you want a more guided version of this post, the folks at PWABuilder have created an online interface that automatically completes most of the steps below.
Create a Progressive Web Application Manifest
A progressive web application manifest is a JSON file containing the following information:
- The canonical name of the website
- A short version of that name (for icons)
- The theme color of the website for OS integration
- The background color of the website for OS integration
- The URL scope that the progressive web app is limited to
- The start URL that new instances of the progressive web app will implicitly load
- A human-readable description
- Orientation restrictions (it is unwise to change this from
"any"without a hard technical limit) - Any icons for your website to be used on the home screen (see the above manifest generator for autogenerating icons)
This information will be used as the OS-level metadata for your progressive web app when it is installed.
Here is an example of a web app manifest for PWAs from my portfolio site.
{
    "name": "Christine Dodrill",
    "short_name": "Christine",
    "theme_color": "#ffcbe4",
    "background_color": "#fa99ca",
    "display": "standalone",
    "scope": "/",
    "start_url": "https://christine.website/",
    "description": "Blog and Resume for Christine Dodrill",
    "orientation": "any",
    "icons": [
        {
            "src": "https://christine.website/static/img/avatar.png",
            "sizes": "1024x1024"
        }
    ]
}
If you just want to create a progressive web application manifest quickly, check out this online wizard.
Add the Manifest to Your Base HTML Template
I suggest adding the HTML link for the web application manifest to the lowest level HTML template of your app, or, in the case of a pure client-side web app, its main index.html file, as it needs to be as visible by the browser client trying to install the app. Adding this is simple. Assuming you are hosting this manifest at the path /static/manifest.json, simply add it to the <head> section:
<link rel="manifest" href="/static/manifest.json">
Create offline.html as an Alias to index.html
By default, the service worker code below will render /offline.html instead of any resource it can't fetch while offline. Create a file at <your-scope>/offline.html to give your user a more helpful error message, explaining that this data isn't cached and the user is offline.
If you are adapting a single-page web app, you might want to make offline.html a symbolic link to your index.html file and have the offline 404 be handled inside there. If users can't get back out of the offline page, it can potentially confuse or strand users at a fairly useless "offline" screen. This obviates a lot of the point of progressive web apps in the first place. Be sure to have some kind of "back" button on all error pages.
In macOS and Linux, you can symbolically link offline.html to index.html like this:
$ ln -s index.html offline.html
Now we can continue building a progressive web application by creating and adding the service worker.
Creating the Service Worker for PWAs
When service workers are used with the fetch event, you can set up caching of assets and pages as the user browses. This makes content available offline and loads it significantly faster. We are just going to focus on the offline caching features of service workers today instead of automated background sync, because iOS doesn't support background sync yet (although things are moving in a good direction).
At a high level, consider what assets and pages you want users of your website to always be able to access some copy of (even if it goes out of date). These pages will additionally be cached for every user to that website with a browser that supports service workers. I suggest implicitly caching at least the following:
- Any CSS, JavaScript or image files core to the operations of your website that your starting route does not load
- Contact information for the person, company or service running the progressive web app
- Any other pages or information you might find useful for users of your website
For example, I have the following precached for my portfolio site:
- My homepage (implicitly includes all of the CSS on the site)
/ - My blog index
/blog/ - My contact information
/contact - My resume
/resume - The offline information page
/offline.html
This translates into the following service worker code:
self.addEventListener("install", function(event) {
  event.waitUntil(preLoad());
});

var preLoad = function(){
  console.log("Installing web app");
  return caches.open("offline").then(function(cache) {
    console.log("caching index and important routes");
    return cache.addAll(["/blog/", "/blog", "/", "/contact", "/resume", "/offline.html"]);
  });
};

self.addEventListener("fetch", function(event) {
  event.respondWith(checkResponse(event.request).catch(function() {
    return returnFromCache(event.request);
  }));
  event.waitUntil(addToCache(event.request));
});

var checkResponse = function(request){
  return new Promise(function(fulfill, reject) {
    fetch(request).then(function(response){
      if(response.status !== 404) {
        fulfill(response);
      } else {
        reject();
      }
    }, reject);
  });
};

var addToCache = function(request){
  return caches.open("offline").then(function (cache) {
    return fetch(request).then(function (response) {
      console.log(response.url + " was cached");
      return cache.put(request, response);
    });
  });
};

var returnFromCache = function(request){
  return caches.open("offline").then(function (cache) {
    return cache.match(request).then(function (matching) {
     if(!matching || matching.status == 404) {
       return cache.match("offline.html");
     } else {
       return matching;
     }
    });
  });
};
You host the above at <your-scope>/sw.js. This file must be served from the same level as the scope. There is no way around this, unfortunately.
Load the Service Worker
To load the service worker, we just add the following to your base HTML template at the end of your <body> tag:
<script>
 if (!navigator.serviceWorker.controller) {
     navigator.serviceWorker.register("/sw.js").then(function(reg) {
         console.log("Service worker has been registered for scope: " + reg.scope);
     });
 }
</script>
And then deploy these changes – you should see your service worker posting logs in your browser’s console. If you are testing this from a phone, see platform-specific instructions here for iOS+Safari and here for Chrome+Android.
Deploy Your Progressive Web App
Deploying your progressive web application is going to be specific to how your app is developed. If you don't have a place to put it already, Heroku offers a nice and simple way to host progressive web apps. Using the static buildpack is the fastest way to deploy a static application (i.e. one that is only HTML, JavaScript, and CSS). You can look at my fork of GraphvizOnline for an example of a Heroku-compatible progressive web app. Note that if you deploy this, you will need to edit the start URL in the manifest to the URL that will reach the deployed website – for instance, sandy-beach-3033.herokuapp.com.
Use Your Progressive Web App
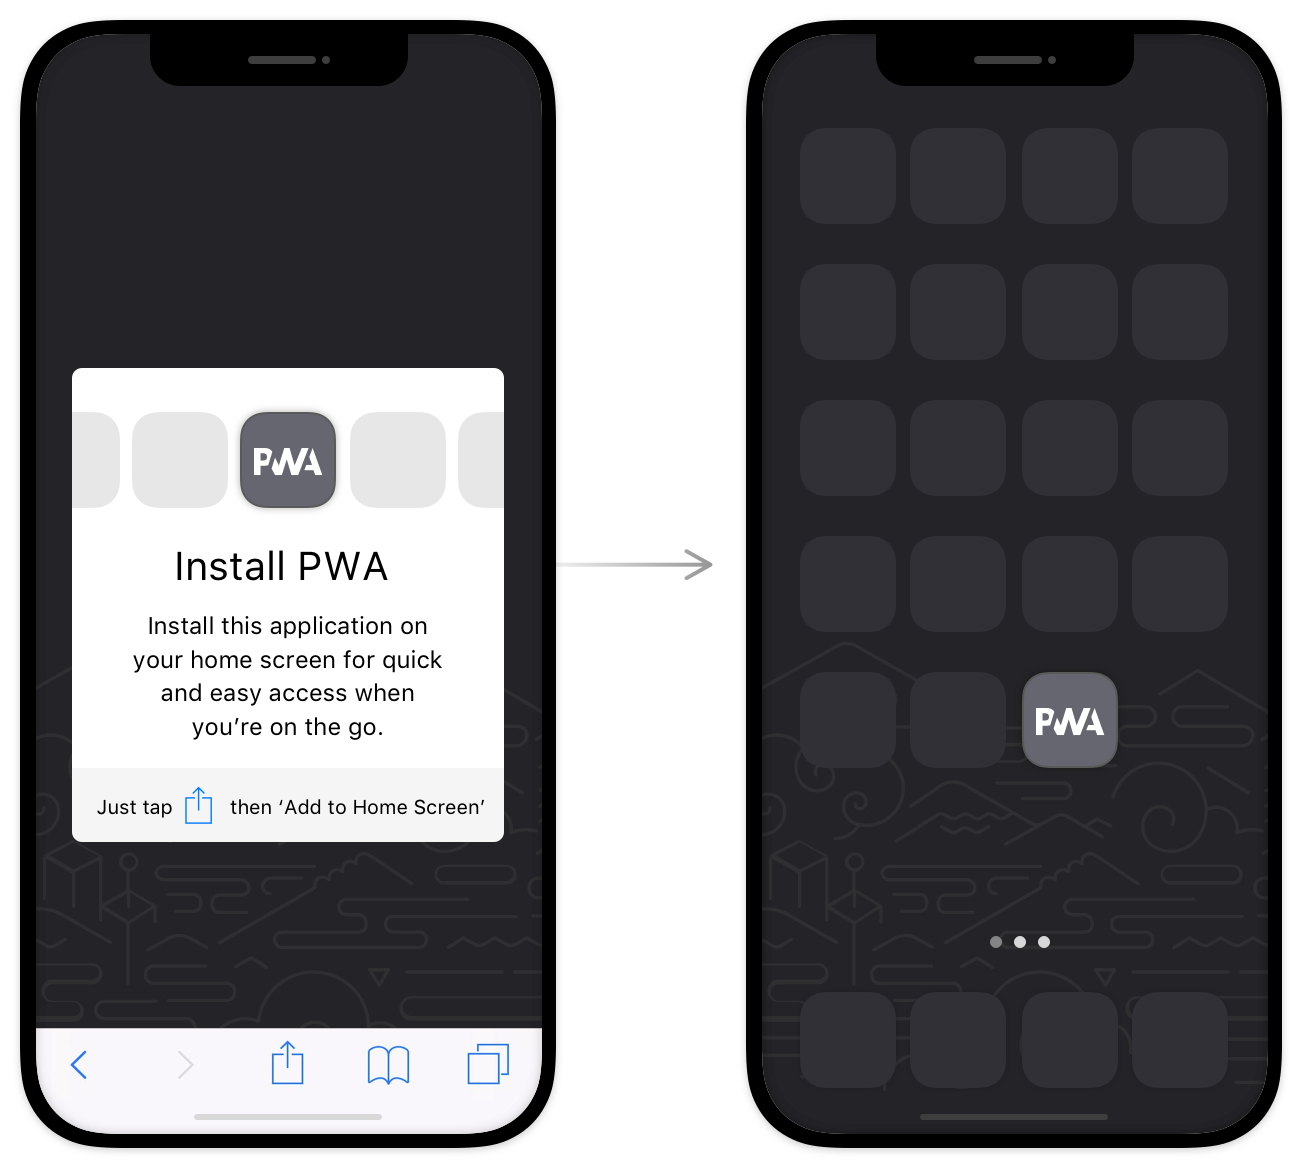
For iOS Safari, go to the webpage you want to add as an app, then click the share button. Tap the "Add to Home Screen” button on the share sheet. The next dialog will let you name and change the URL starting page of the progressive web app before it gets added to the home screen. You can then launch, manage and delete it like any other app.
For Android with Chrome, tap on the hamburger menu in the upper right-hand corner of the browser window and then tap "Add to Home screen.” This may prompt you for confirmation, then it will put the icon on your homescreen and you can launch, multitask or delete it like any other app. Unlike iOS, you cannot edit the starting URL or name of a progressive web app with Android.
After all of these steps, you will have a progressive web app. Any page or asset that users load will seamlessly be cached for future offline access. It will be exciting to see how service workers develop in the future. I'm personally excited the most for background sync – I feel it could enable some fascinatingly robust experiences.